Showing posts with label tutorial. Show all posts

Wednesday, June 29, 2011

Applied I-Cord: A Photo Tutorial

Recently, I knit a baby sweater that called for an applied i-cord edging around the front and neck.  I had a really difficult time understanding the written directions, so I went in search of a video tutorial on YouTube. I found a couple that were similar to what I was looking for, but nothing that explained the technique in the same way the pattern had it written.

Since nothing was exactly like what I wanted, I did a mash-up of THIS YouTube video, the written instructions, and my own ideas on what I wanted the edging to look like.

After reading through the project pages for the pattern, it seemed like a few people struggled with this technique, so I decided a photo tutorial might be helpful as well.  My technique is not the same as what was in the pattern, but I think the end result looks nice.

I hope these photos are helpful to some of you as well!

Let's get started!
There is a lot of knitting stitches onto the right-hand needle and then transferring them back to the left-hand needle.  It's fiddly, but it works.

It's helpful if you read through all the steps and look at all the photos at least once before you attempt to knit at the same time.  It may not make sense while reading it, but once you start knitting, it should become clearer.

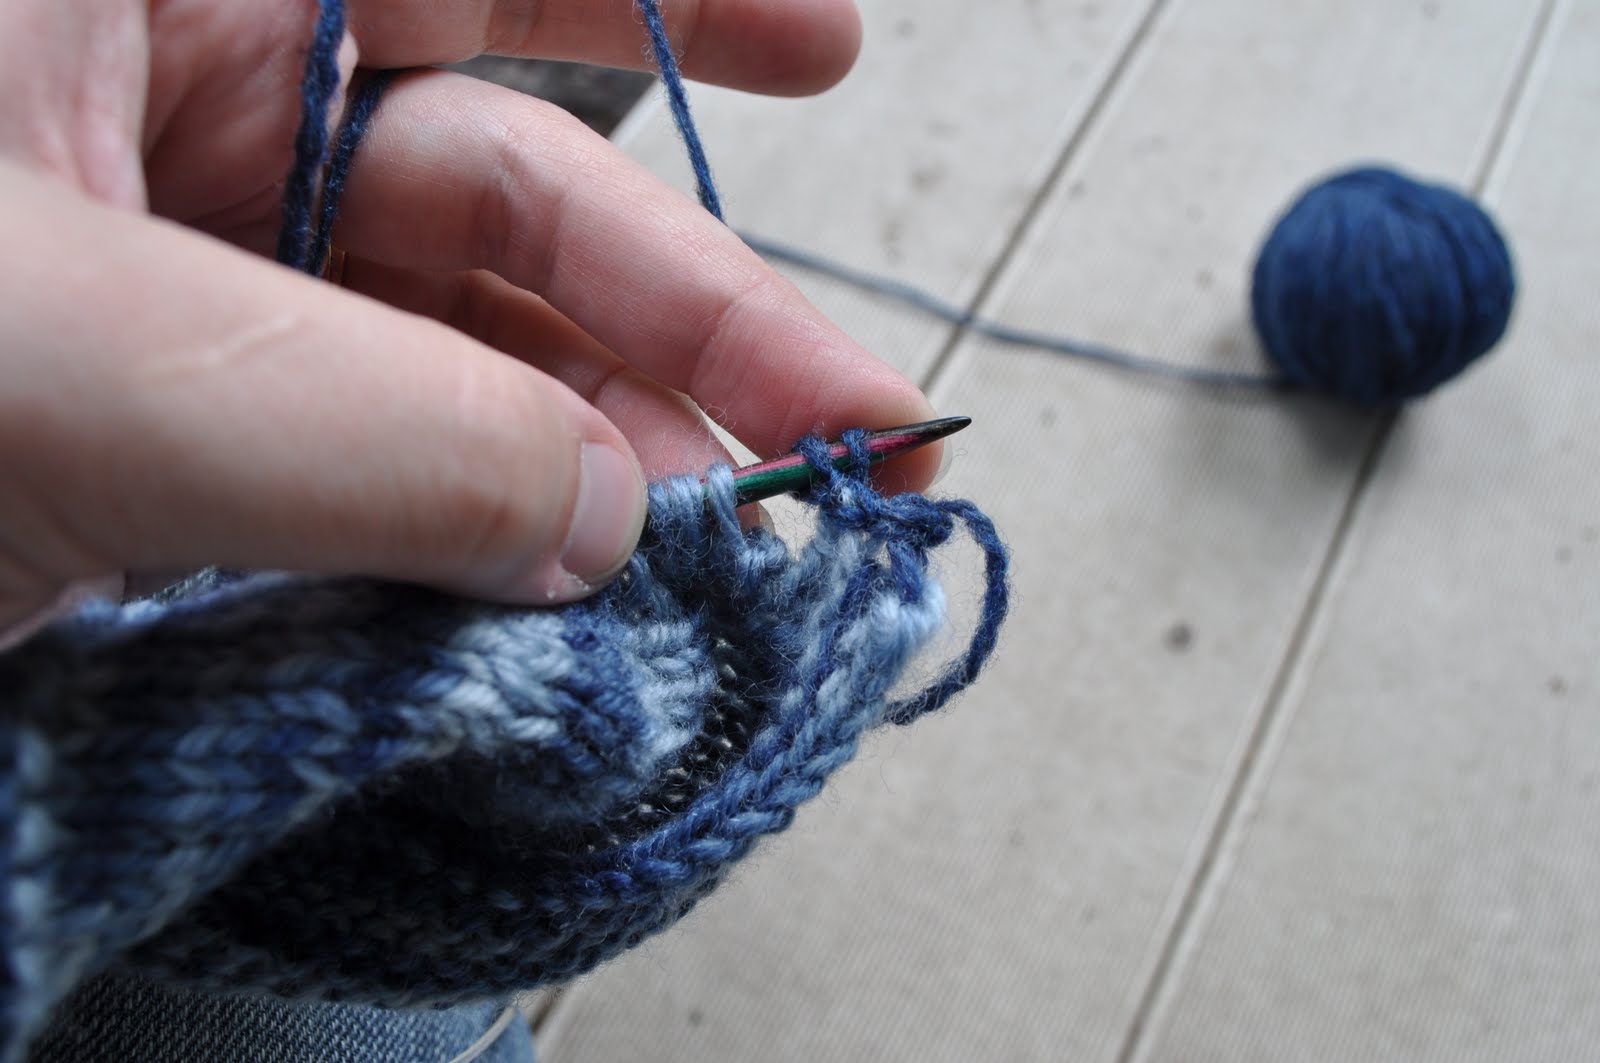
1. First, slip all of the required stitches onto your designated circular needle.  
(You will only need 1 circular needle to do this technique.)

2.  Cast on the number of stitches instructed in the pattern onto the right-hand needle of the circular needle.  
(In the above picture, the needle resting in the middle of the sweater is the right-hand needle.)
(In my case, I needed to cast on 2 sts.)

3.  Move the cast on stitches from the right-hand needle onto the left-hand needle. 

4. Knit the first stitch on the left-hand needle.  

5. Slip the 2nd stitch as if to knit. 
(You now have 2 stitches on the right-hand needle.)

6.  Slip the 3rd stitch (which would be a picked up edge stitch) as if to purl.

7. There are now 3 sts on the right-hand needle.  (One knit stitch and 2 slipped stitches.)

8. Move the 2 slipped stitches back to the left-hand needle and knit them together through the back loop (you have now done a SSK). 

9.  You now have 2 completed stitches on your right-hand needle.  

10.  Move these 2 completed stitches back to the left-hand needle.  Wash, rinse, repeat. (In other words, you do steps 4-10 over and over again, until you either 1) reach a buttonhole or 2) have gone all the way around your project and are ready to bind off.)  Your next step here would be step 4, knit the first stitch. 

Applied I-Cord for Buttonholes
1. In my project, the cardigan calls for buttonholes along the applied i-cord.  To prepare for this, when picking up stitches, I skipped picking up one stitch because this is where the buttonhole would be placed.    At this point, you have done steps 4-10 of above until you reach your skipped stitch.  Do you see the 2 garter ridge bumps in the photo below?  Between those bumps is my skipped stitch.  

2. Now that you've identified buttonhole placement, place the two sts from the right-hand needle onto the left-hand needle.  (You've done this much lots of times before...just stick with me for a moment.)

3.  Now, instead of knitting the first stitch and slipping the 2nd stitch, you are going to knit 2 sts.  (So the 2 sts you just placed back on the left-hand needle will both be knit.  Do NOT knit them together, just k2.)

4.  Here are your two knit stitches on your right-hand needle.  

5.  Slip the two knit stitches back to the left-hand needle and continue as from the top with steps 4-10 (knit 1 st, slip 1 knitwise, slip 1 purlwise, k2tog tbl). 

6.  Do you see what this does at the buttonhole?  You have knit a portion of your i-cord as you would any normal i-cord, leaving a gap for the buttonhole, and kept your knitting from puckering.  Do you see my buttonhole in the photo below?

7.  From this point, you continue this technique over and over.  My pattern called for buttonholes every 4th stitch, so I have a total of 7 buttonholes.  Your item may not have any buttonholes.  Keep up the k1, s1 knitwise, s1 purlwise, k2tog tbl - move back to left-hand needle.  When you reach the end, bind off as you normally would any i-cord.  In the above linked video the woman uses an invisible cast-on and then does  a kitchner or 3-needle bind-off to pull it all together since she's going around a blanket edge. 

I hope this was helpful.  It still feels clumsy and complicated to me in just written and photographed form, so I plan to try getting a video tutorial added to this as well.  Until then, feel free to contact me  with any questions you may have regarding the tutorial and I'll do what I can to help.

Tuesday, May 18, 2010

Dyeing Wool

I finally tried dyeing wool.  Little man cooperated the other night by falling asleep for an unexpected nap, which lasted about 2.5 hours!  Plenty of time to experiment with a little bit of Koolaid & Jell-O!

At the time I dyed the yarn, I had not yet procured extra mason jars, but I decided I'd make do with what I had.  I couldn't miss the opportunity of all that free time!  A quick tip first - when you've decided to dye yarn yourself, I recommend winding your yarn into a hank as soon as you can.  Then, when you're ready to dye, all you have to do is get the yarn out and untwist that hank.  If you haven't already done this, and you don't have an easy way to unwind a skein, you're left spending your time unwinding and winding yarn.  Since I was already trying to be prepared to dye with Koolaid, I had already completed this step. :)

What you need:
Rubber gloves (I got mine in the pharmacy section at Hy-Vee)
Something to stir the solution (non-porous)
Tongs (to handle hot yarn)
Oven mitts or towel (to handle hot bowl or mason jars)
Old towel (for messes)
Newspaper or garbage bag (to lay under your ingredients to prevent dyeing your countertops!)
Yarn
Koolaid
White Vinegar (for Jell-O)
Salt (for Jell-O)
Microwaveable mixing bowl or mason jars

First, I untwisted my hank of yarn and set it in a solution of water with a tiny bit of dishsoap (I used a bit of regular old Dawn.).  My yarn soaked for about 20 minutes. 
Wear gloves.  Although stained fingers might be pretty, I didn't want to go to work having to explain why I was red & blue. While my yarn was soaking, I prepared the Koolaid.  I took one mason jar for each color I wanted to dye (since I only had 2 jars, I knew I would only be using 2 colors!), and poured the Koolaid powder into each jar.  As far as the ratio between the amount of Koolaid vs. the amount of yarn, just know that the more Koolaid, the darker the yarn.  The amount of water is less important than the Koolaid/yarn ratio. 
I used 2 packets of Berry Blue in one jar
and 2 packets of Strawberry in the other jar.  I added just enough HOT water to dissolve the Koolaid. 
I then added the yarn - half in each jar, and added enough water to cover the yarn.  There was some yarn that would not be covered by water since I was using 2 jars.  After I had added the extra water, I dipped this yarn into the solution to get a lighter color (half in blue, half in red) and made sure it was plenty wet when I put it in the microwave. 
Putting everything in the microwave, I nuked it for 2 minutes.  Then, using oven mitts, I removed the hot containers from the microwave, and let them sit for 2 minutes to cool.  At this point, using the handle of a spatula, I moved the yarn around in the jar, checking to see how clear the liquid was.  Using tongs since the yarn was hot, I dipped the portion not submerged in water in each of the corresponding liquids - making sure the yarn remained wet while heating.   Repeat this step until the water in the jar is clear (or at least void of color - sometimes, depending on the Koolaid used, the water will be cloudy).  This means the dye has exhausted and has been absorbed by the yarn.  (Item to note: Koolaid already contains citric acid so it is not necessary to add a setting agent like extra citric acid or white vinegar.  Some people even use clear Koolaid as their setting agent.) 

At this point, I let my yarn cool, and then rinsed it in another water bath - making sure the water was the same temperature as the yarn.  If you use water that is too cold, it could shock the yarn into felting (or so I've heard - I was using superwash merino because it's easy to dye and you cannot felt it).  After rinsing well, I gently squeezed all the water out of the yarn (you could also wrap it in a towel and smoosh). 
Then, hang to dry.  After my yarn is mostly dry, I like to put it in the dryer for just a couple minutes to get the remainder of the moisture out (this is mostly because I'm impatient and don't like waiting for the final results!). 
I wasn't entirely pleased with the amount of color at this point so I overdyed the yarn (still wet and using the same method as above) with 1 packet Ice Blue Raspberry and 1 packet Black Cherry.  This gave a nice variagated color in the end.

My favorite part is rewinding the yarn into a nice hank to see how the colors look against one another. So pretty!
This was so simple and so quick.  I could have easily done several more skeins of yarn.

I also dyed a hank of yarn using Berry Blue Jell-O.  If I were to use it again, I might be more conscious of how much yarn/Jell-O I had.  I had about 3.5 oz of yarn and the resulting color was a very pretty, but very light blue.  By adding food coloring,  I was able to darken the color. (Sorry, I don't have pictures this time!)

This time I did not pre-soak my yarn.  I added 5 cups water, 1 cup white vinegar, and 1 teaspoon salt (the salt helps slow the absorption of dye so you have a more even result - if you want some variation in the color, you could skip the salt) to a microwaveable, non-pourous bowl.  Then I added the Jell-O and stirred until all the gelatin was dissolved.  Be patient with this step, you don't want clumps on your yarn!

I submerged my yarn in the dye solution, making sure it was all covered, using my spatula handle to mix it around a bit.  (My understanding is that if you have wool that could felt, it is important to handle the yarn as little as possible to prevent any possible felting. Again,  I was using superwash wool). 

I then nuked my bowl of yarn & dye for 2 minutes, let it cool for 2 minutes.  Repeat 3 times. Each time, checking to see how clear the water was. 

When this was complete, I rinsed my yarn.  Hang to dry.  I had let mine dry for about 5 minutes when I decided I wanted it darker.  I went back to my bowl, adding water, white vinegar, and this time, blue food coloring from McCormick's neon pack.  I don't know how many drops I added, I just kept adding dye, soaking the yarn, and heating/cooling until I liked the final result.  I've heard that blue is a bit difficult in that it takes longer to exhaust the dye. I've also heard that it takes more vinegar or citric acid to really set well.  When I use food coloring again, I will let the yarn sit in the dye bath, covered, overnight to let the yarn exhaust the dye while it cools. 

After it was cool, I rinsed in lukewarm water (same temperature as the yarn) until the water ran clear.  Hang to dry.  I was very pleased with the resulting color.  My original Jell-O color was very even, but I didn't use salt with the food coloring and so I do have a little variation in the blue.  I like it!
I am very happy with the results and would use these methods again! 

Wednesday, April 21, 2010

Tie-dying adventure

A while back I posted about wanting to dye my own yarn.  At the time, I wasn't sure what method I'd use, or what yarn I had on hand that would work.  After reading lots of threads from the What a Kool Way to Dye group, I learned that only wool can be dyed using Easter egg dye, Jell-O, Koolaid or Wilton's.  And wouldn't you know that all I had in my stash was cotton??  The solution?  Tie-dye.

Much like tie-dying a cotton t-shirt, the process was fairly simple.  I got to work unwinding my skeins of KnitPicks Simply Organic Cotton (is it weird that I tie-dyed organic cotton? lol) and rewound them into hanks, tying them off with acrylic yarn at various places to keep the hank from getting tangled.  I bought my tie-dye kit from Hobby Lobby and got to work. 
I had 2 hanks of yarn to dye, so I opted to use 2 different color schemes.  One using cool colors, and the other, warm colors.  The whole process took longer than I expected, but the rewards were worth it. 

I wound the yarn on my quilt rack since I didn't have any chair backs that would work.  This actually ended up working quite well.  I just had to remember to wind the yarn loose enough I could pull it off the rack. 
After it was wound and tied (only to prevent tangling, not to get any funky designs in the yarn!), I soaked the yarn in a bath of warm water and a couple drops of Dawn dishsoap (helps remove the oils and such from the yarn).
I let that sit for 30 minutes or so and then gently squeezed as much water out as possible before wrapping the yarn in a towel and smashing it to remove as much moisture as possible.
Next, I laid out some cardboard on my counter to lay the yarn on top of (this helped me transport the dyed yarn off my counter and to a safe location to soak when I was finished), topped with a plastic trash bag to contain the dyes and not color my kitchen countertops.  I laid out the yarn in an oval shape, and got to work.
The dyes in the kit came in powder form - just add water.  Be sure to wear gloves!!  Because that powder easily gets everywhere.  It's probably not a bad idea to wear glasses or goggles to prevent dust getting in your eyes.  I didn't have any particular plan as to how I wanted to color the yarn so I just starting squirting the dye on a section of the yarn. I ended up with somewhat intentional coloring. 
Once I felt the yarn was sufficiently covered in dye, I wrapped it up in the plastic bag, taped it shut, and moved it out of the way to soak for a day or so.  I read on the blog, Yarngear, that the longer the dye sits, the better color saturation you achieve.
A couple days later I opened up the plastic bags, and while using rubber gloves, I rinsed my yarn in the sink.  Let me tell you....I rinsed and rinsed and rinsed.  Then I squeezed out the water and rinsed some more.  I finally ended up putting my yarn in the shower and rinsing out the extra dye with the shower head.  This worked REALLY well, and it was much easier to tell when the water started to run clear.  Then I squeezed out the remaining water by hand, and again wrapped it in a towel and stepped on it to remove whatever water possible. 

After drying, my yarn was a bit tangled in the hank, but nothing horrible. I rewound the yarn into hanks and sat back to observe my handiwork. 
Overall, it was a lot of fun dying my own yarn. I can't wait to try it with wool and Koolaid, or Wilton's, or Jell-O.  So many more options than cotton.

**Items to note for future reference:
  • Save the bottles the dye came in.  The next time I dye, I may want to mix colors, having these extra squirt bottles on hand will be extra helpful!
  • Have plenty of yarn on hand to dye.  Although you may know how to preserve the dye, I have no idea and the box says the intensity starts to wear off after 48 hours.  I could have dyed 2 more skeins of cotton!
  • Adding water to the dye solution will change the color intensity.  It helps to dye the dark portions first, followed by the light portions.  For example, I started with deep red, but had a light red/pink by the time I was finished.  It gives the yarn a nice blended appearance.
  • The towel you use for squeezing out remaining water post-dye should be one you don't mind getting colored.  Even though I had rinsed out the extra dye, if the yarn sat on the towel while wet, some of the dye bled. Another option for removing excess water would be to put the yarn in the washer on spin cycle.  The tie-dye directions said to wash the dyed object, but I just rinsed. 
  • You can hang dry your yarn, or put it in the dryer.  Since it's cotton, it doesn't felt.  And my yarn came out nice and fluffly. :)
  • The finished colors were lighter when all was said in done, but the colors are still saturated and beautiful.